Tips For Furnishing And Decorating Your Art Studio Apartment

Tips For Furnishing And Decorating Your Art Studio Apartment

Your art studio apartment is your creative haven. It’s a place where you can let your imagination run wild and create something beautiful. But, if your studio is feeling a little cold and uninviting, it can be tough to get inspired.

If you’re an artist, chances are you’re also on a tight budget. But that doesn’t mean your art studio apartment has to look like a college dorm room. With a little creativity and some thrifty shopping, you can turn your studio into a stylish and functional space that reflects your personality and creativity.

Tips for furnishing and decorating art studio

Here are some tips for furnishing and decorating your art studio apartment on a budget:

Get creative with your furniture

Just because you’re on a budget doesn’t mean you have to settle for boring, mass-produced furniture. Get creative with your furniture choices and look for pieces that double as both art and functional items. For example, a vintage dresser can be used as a buffet table for hosting parties, or an old door can be repurposed into a unique coffee table.

Shop at thrift stores and flea markets

If you’re looking for unique, one-of-a-kind pieces, thrift stores and flea markets are great places to find them. You can often find furniture and home decor items for a fraction of the cost of what you would pay at a traditional store.

DIY it

If you’re handy, why not DIY some of your own furniture and decor? There are plenty of easy and inexpensive DIY projects that even the most novice do-it-yourselfer can handle. Check out Pinterest or your favorite DIY blog for some inspiration.

Get creative with your wall decor

Your walls are a blank canvas for you to get creative with. Hang up some of your own artwork, or frame interesting found objects like old maps or antique postcards.

Use lighting to your advantage

Proper lighting can make a big difference in the feel of a room. If your studio doesn’t have a lot of natural light, make sure to invest in some good quality artificial lighting. String lights are a cheap and easy way to add some ambiance to your space.

How to make your art studio apartment cozy and inviting

Here are a few simple tips to make your art studio apartment feel cozy and inviting:

Bring in some plants

Adding some greenery to your studio will not only make it feel more inviting, but it will also help purify the air. Choose plants that are easy to care for, so you can focus on your art, not on your plants.

Add some cozy blankets and pillows

Making your studio cozy doesn’t have to be expensive. Simply adding a few blankets and pillows can make a big difference. Choose cozy fabrics in colors that complement your artwork and make you feel happy.

light some candles

Candles add both warmth and ambiance to any space. Choose candles with scents that make you feel relaxed and inspired, like lavender or citrus.

Play some relaxing music

Having some soft, relaxing music playing in the background can help you get into a creative mindset. Make a playlist of your favorite calm songs to help you focus on your art.

Hang some artwork

Of course, no art studio is complete without some artwork on the walls. Choose pieces that inspire you and make you feel happy. Seeing your own artwork on the walls will also help you feel proud of your accomplishments.

With a little creativity and some thrifty shopping, you can turn your art studio apartment into a stylish and functional space that reflects your personality and creativity.

How To Paint Like A Professional

How To Paint Like A Professional

There are a few things you need to know in order to paint like a professional. First, you need to have the right tools. This means having a good set of brushes, a palette, and a canvas.

Second, you need to know how to mix your colors. This is where a lot of people make mistakes; they don’t mix their colors properly and end up with muddied paintings.

Third, you need to have a good understanding of light and shadow. This will help you create depth and dimension in your paintings. Lastly, you need to be patient. Painting takes time and you need to be willing to put in the hours to get the results you want.

If you follow these tips, you’ll be well on your way to painting like a professional.

Here are a few tips to help you get started:

Choose the right paint. This may seem like a no-brainer, but it’s important to use paint that is suited for the job at hand. For example, if you’re painting a room in your home, you’ll want to use interior paint. Likewise, if you’re painting the exterior of your home, you’ll want to use exterior paint.

Choose the right brush. Just as important as choosing the right paint is choosing the right brush. There are different types of brushes for different types of paint jobs. For example, if you’re painting a large surface, you’ll want to use a large brush. Conversely, if you’re painting a small surface, you’ll want to use a small brush.

Follow the directions. Once you’ve chosen the right paint and brush, be sure to follow the directions on the paint can. This will ensure that you get the best results possible.

Have fun. Painting can be a fun and rewarding experience. So, relax and enjoy the process.

With these tips in mind, you should be well on your way to painting like a professional.

Are you interested in painting like a professional? There are a few things you need to know in order to get started. Here are a few tips:

Choose the right painting surface.

Use the right type of paint.

Use the right brush.

Follow the rule of thirds.

Use a color wheel.

Paint in layers.

Use glazing techniques.

Use a varnish.

How to create a unique painting style

As an artist, it can be difficult to find your own voice and develop a unique painting style. There are so many artists out there with different styles, and it can be hard to know where to start. But don’t worry, we’re here to help! Here are some tips on how to create a unique painting style:

Experiment with different mediums

One way to find your own style is to experiment with different mediums. Try painting with acrylics, watercolors, or even mixed media. See what you like best and what feels most natural to you.

Play around with color

Color is a great way to express your personality in your paintings. Don’t be afraid to experiment with different color schemes and see what you like best.

Use different brushstrokes

The way you use your brush can also help create a unique painting style. Experiment with different brushstrokes and textures to see what you can create.

Think outside the box

Don’t be afraid to think outside the box when it comes to your paintings. Try to come up with unique ideas that no one has thought of before.

Take inspiration from other artists

It’s okay to take inspiration from other artists, but make sure you put your own spin on it. Don’t copy someone else’s style, but use it as a starting point to develop your own.

These are just a few tips to help you create a unique painting style. The most important thing is to experiment and have fun!

Now that you know the basics, you’re ready to start painting like a professional!

Using Polymer Clay to Create a Fairy Figure

Using Polymer Clay to Create a Fairy Figure

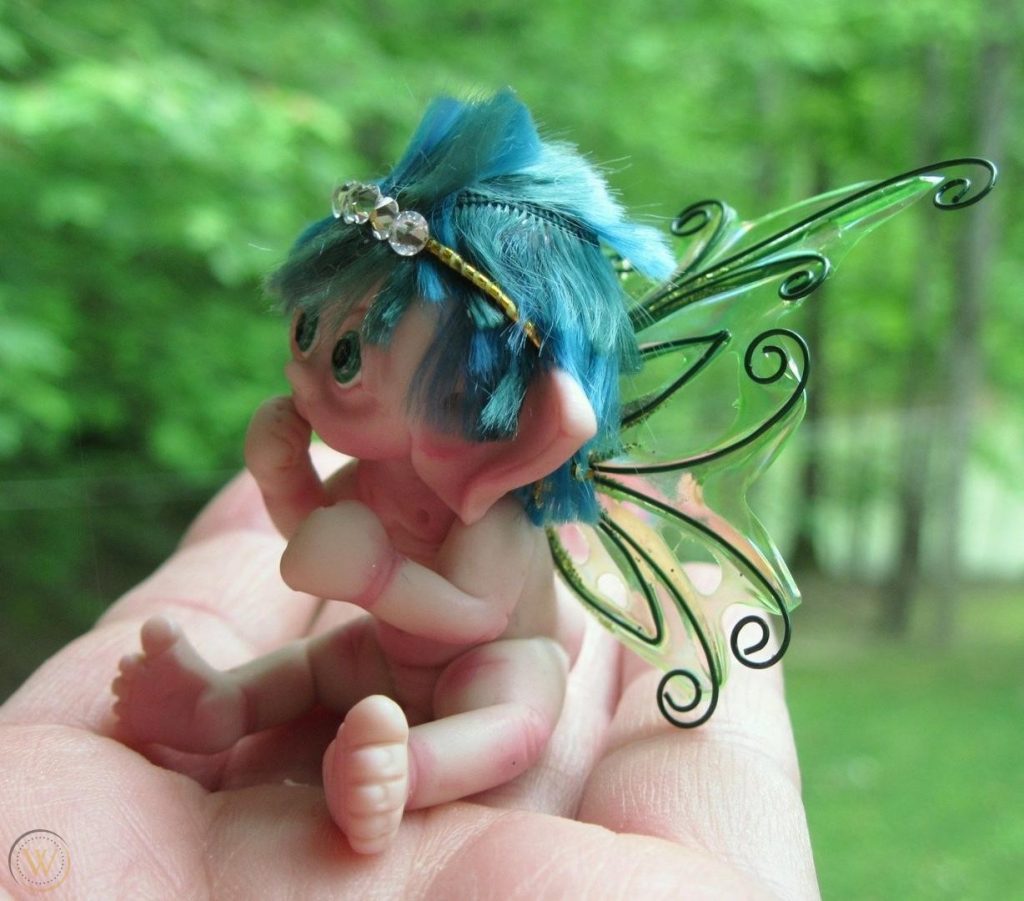
You must be familiar with Peter Pan’s story. Maybe some of you have watched it with your child or told bedtime stories about the fairy story. Now you can bring your story to life again if you can make your own doll from a fairy, why not?

The Basic Needed

Courtesy : www.facebook.com/RealmofFroud

Creating a Fairy Figure with Wendy Froud certainly gives the viewer all the basics needed to work in this arts and crafts medium while providing instructions on what I consider to be a more advanced polymer clay topics. Like everything else in life, it’s a matter of practice and having a routine. Unexperienced in working with polymer clay, I paused the video many times to follow along. Anyone with experience working with polymer clay would be able to follow along in a more spontaneous, fluid manner.

Pros

Clear, easy-to-follow instructions

Written for the beginner, but also good for polymer clay artists not experienced in model-making

Excellent visual effects

Cons

Digital download process was time-consuming

Description

Courtesy : i.ytimg.co

Making an Armature – complete instruction on forming the skeletal framework for the figure using wire.

Sculpting the Figure – learn how to make all the separate body parts such as the head, torso and hands.

Fabricating the Body – after the pieces are finished and baked, you learn how to put the pieces together to form the figure.

Costuming the Figure – discusses selection of fabrics and coordinating hair.

Applying Hair – learn how to attach wool and other materials to the figure for a realistic head of hair.

Making Wings – crucial for a faery figure, not a necessity if only interested in making doll-like figures with polymer clay.

Finishing the Figure – completing all the minute details to wrap up the project.

Guide Review – Using Polymer Clay to Create a Fairy Figure

Courtesy :i.pinimg.com

Creating a Fairy Figure with Wendy Froud

I’m somewhat familiar with polymer clay as I interviewed a few jewelry artists who make their own beads from polymer clay while writing one of my books. The bit of knowledge that I retained the most was the fact that polymer clay is hardened by baking in the oven, instead of using a kiln, which seemed to me to be pretty handy as it eliminated the need for yet another piece of craft-making gear (although all serious artists use a separate oven since there are safety concerns with keeping food and clay separate).

However, I’ve never used polymer clay myself so I figured a good litmus test for a video is if a crafter who is handy in other crafts can follow along with instructions for another somewhat related type of craft. In this case, I’ve worked in paper mache in the past, which uses armature and paper constructing technique.

While my faery was far from perfection, this video really delivers on the instructional aspect. An artist or crafter with the right tools and patience will get all the knowledge they need to work in this medium from this video – regardless if they are interested in fantasy figures.

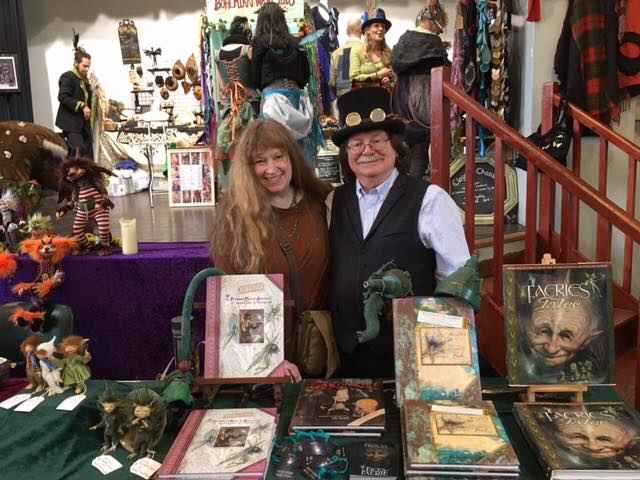
You can read artist Wendy Froud’s bio on the Gnomo Workshop website. Pretty impressive, she worked on both The Muppet Show and The Empire Strikes Back. The two-DVD set is 240 minutes in total and is also available via digital download.

The Gnomon School website show an approximately two minute sample clip showing the artist fabricating the model’s eyes. This clip is representative of the quality and type of instruction running through the entire 240 minutes.

When need be the filming of the dvd is close up on the artist’s hands. Ms. Froud moves very slowly, explaining each step as she goes giving alternatives on how to perform some of the tasks. For example, while constructing the hands of the faery she advises that she prefers to not wire the hands since she likes to really manipulate the digits after she attaches them to the main base of the palm of the hand.

Polymer clay is very easy to manipulate and forgiving. The artist many times removed and added clay while constructing the model. Using the special polymer clay tools, it’s easy to add clay to the basic shapes to add features, fingers and the body.

At the time of this review, the polymer clay lesson cost $49 (plus shipping if not going the digital download route – downloading will save you the shipping cost of $10 to $15 for most items.) Considering the length of the dvd and the soup to nuts presentation of the topic, a very good value.

Easy DIY Instructions to Make a Knotted Charm Bracelet

Easy DIY Instructions to Make a Knotted Charm Bracelet

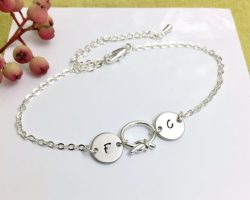
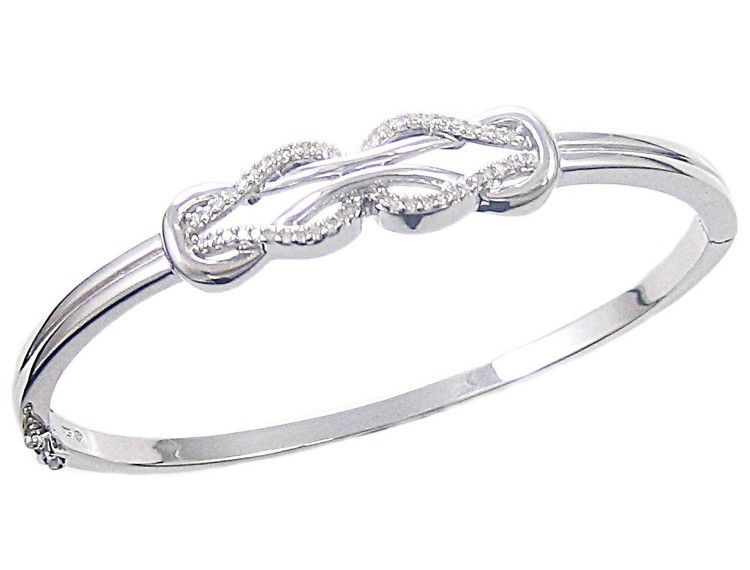
I’ve received quite a few emails about the knotted Figaro sterling silver charm bracelet shown in my charmed jewelry article. This is one of my original designs from a few years back and I don’t know where similar ones are for sale.

I’ve decided to post the DIY instructions on how to make this sterling silver bracelet. Even for those with minimal craft or jewelry making skills, this bracelet is extremely easy to make.

1. Supplies and Tools List for the Knotted Charm Bracelet

I purchased all my supplies and tools from Fire Mountain Gems and Beads. You could also find most if not all of the supplies and tools at a craft store such as Michaels.

Here is your supplies and tools list:

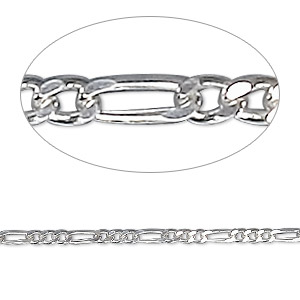
*** Figaro sterling silver 2mm chain by the foot. I purchased mine from Fire Mountain Gem and Beads, which came in a five foot length.

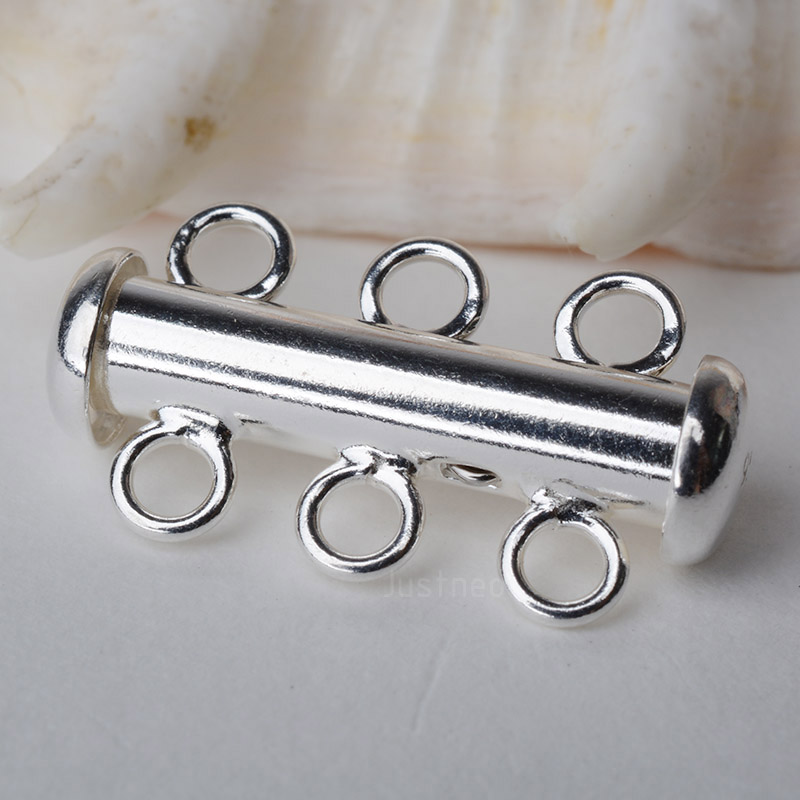
*** 3-strand clasp in sterling silver. You could also use a silver-colored base metal.

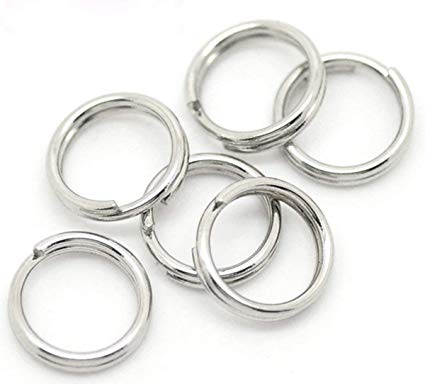
*** 8 sterling or silver-colored split rings in the appropriate size for your clasp.

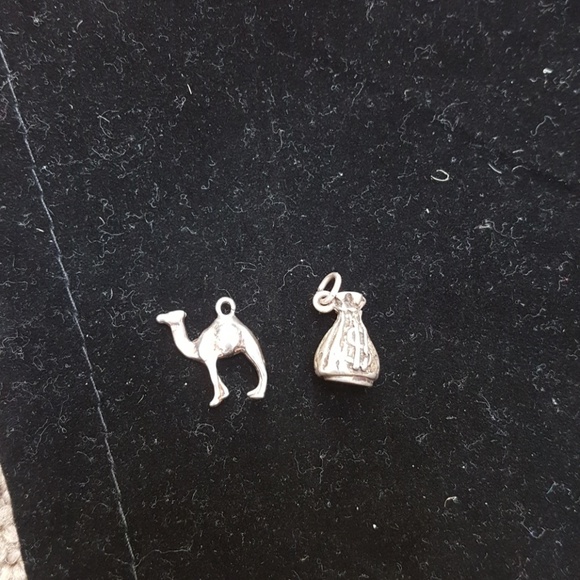
*** 2 sterling silver charms.

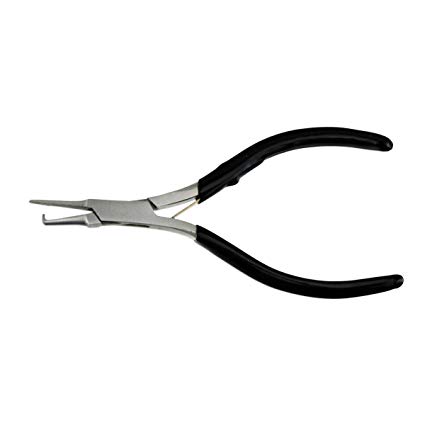
*** Split ring pliers.

2. Knotting the Sterling Silver Chain

Woman’s bracelets in the US are sized at 7.5 inches in length, including the clasp assembly. Depending on how tight you get your knots, knotting the chain will use up approximately 2 inch of chain per knot.

To make sure you have the needed length, I recommend you cut three, twelve inch lengths of sterling silver chain. Matching up the ends on one side, lay the three strands side-by-side and at the mid-point, knot all three strands together. Pull tight and use a pin or pick if need be to tighten the knot.

Do the same at the mid-point between the middle knot and end on both sides.

3. Attaching the Clasp

You’ll be placing the split rings on the oblong section of the Figaro chain. If need be use your wire cutters to remove any smaller links at the end of each strand of the sterling silver chain. Then using your split ring pliers, attach your chains to one side of the three-ring clasp.

Fire Mountain Gems and Beads has a great video on using split ring pliers. The concept is the same as putting a key on a key ring.

4. Adding Charms to the Figaro Chain

Trim the other side of the three sterling silver chains to the correct length for the bracelet, making sure to include the length of the clasp. My clasp/split ring assembly added one inch in length, so I trimmed my chain to approximately 6.5 inches, making sure that the oblong part of the chain was at the end of each strand. It’s better to trim so the bracelet is slightly longer than shorter if need be to properly place your oblong section of the Figaro chain.

5. Selecting Your Charms

Depending on what type of charms you are using, use a split ring or the built-in lobster claw to attach your two charms equally spaced between the three knots.

My charmed theme was phobias. I hate bugs and snakes, so I used a spider and snake charm. Plus there is plenty of room to add more charms in the future. I already had a 14K and diamond spider charm in my findings collection that I used for my phobia charm bracelet.

6. Making it Even Easier!

If knotting the Figaro chain is too much hoop-la for you, purchase a Figaro bracelet and add the charms to the oblong sections. If a lobster claw clasp is already attached to the charm, it’s easy to add and move them on your charm bracelet.

Painting or Airbrushing with an Air Compresor

Painting or Airbrushing with an Air Compresor

What is the Best Air Compressors for Airbrushing and Painting?

Do you need a new air compressor for your airbrushing and painting needs.If you do a lot of painting then you would know that using a paint sprayer or air brushing is easier and cleaner once you get the hang of using the right tools. With airbrushing and paint spraying, you can control how thick the coat is making the final result much more even. It’s also a fast way to get the job done.

But to properly accomplish a good paint job using these techniques, you need a good air compressor. You need a machine that is powerful and consistent so that you can keep a good steady stream of paint mist going making sure that it stays that way and keeps each stroke even. You will also definitely need something with a lot of force and pressure to keep the mist fine. Here are some great air compressors to help you with your carious paint jobs.

Senco .5 hp 1-Gallon Compressor (Model: PC1010 1)

The Senco .5 horsepower compressor is a very lightweight compressor that is perfect for people who move around a lot (as is common with airbrushing). This is a great item that can be used professionally and even at home.


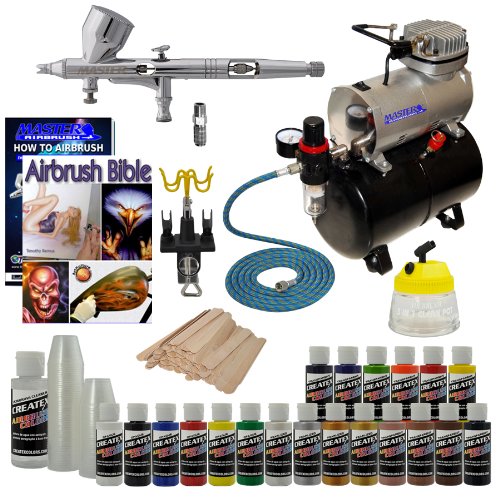
The Complete Airbrush Kit with Tank

This is a complete set for somebody who is already into air brushing and wants to take one step further. It includes an air compressor that comes with a tank that automatically shuts off when it gets to 60 psi.

Campbell Hausfeld Two-Gallon Air Compressor and 8-Piece Accessory Kit (Model: FP2048)

This oil-free 2 gallon tank air compressor is a great addition to any garage because of its small size and the versatility of the accessories that it comes with. It has gauges placed right on the body at an angle that’s easy to look at when you need to check it.