Easy DIY Instructions to Make a Knotted Charm Bracelet
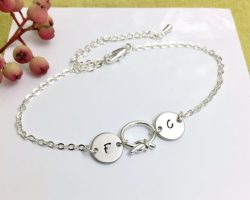
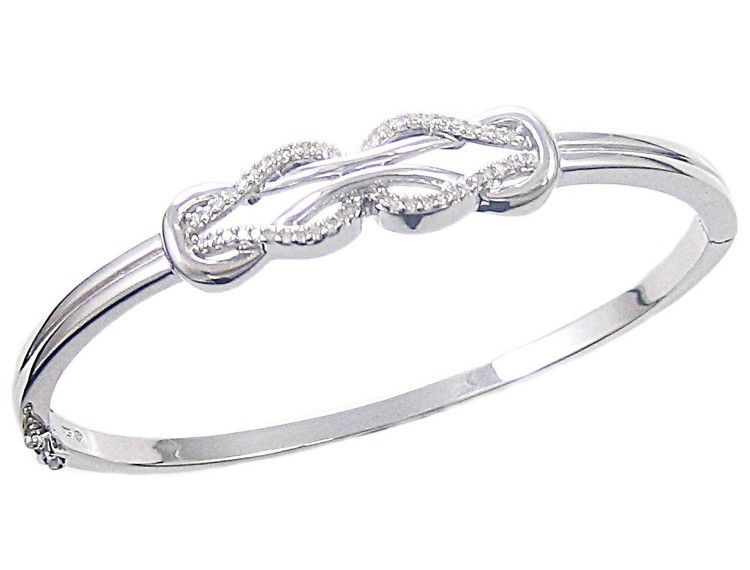
I’ve received quite a few emails about the knotted Figaro sterling silver charm bracelet shown in my charmed jewelry article. This is one of my original designs from a few years back and I don’t know where similar ones are for sale.
I’ve decided to post the DIY instructions on how to make this sterling silver bracelet. Even for those with minimal craft or jewelry making skills, this bracelet is extremely easy to make.
1. Supplies and Tools List for the Knotted Charm Bracelet
I purchased all my supplies and tools from Fire Mountain Gems and Beads. You could also find most if not all of the supplies and tools at a craft store such as Michaels.
Here is your supplies and tools list:
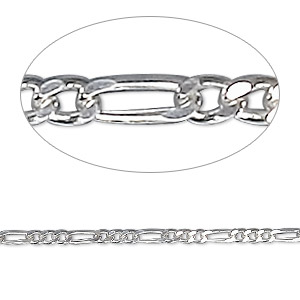
*** Figaro sterling silver 2mm chain by the foot. I purchased mine from Fire Mountain Gem and Beads, which came in a five foot length.
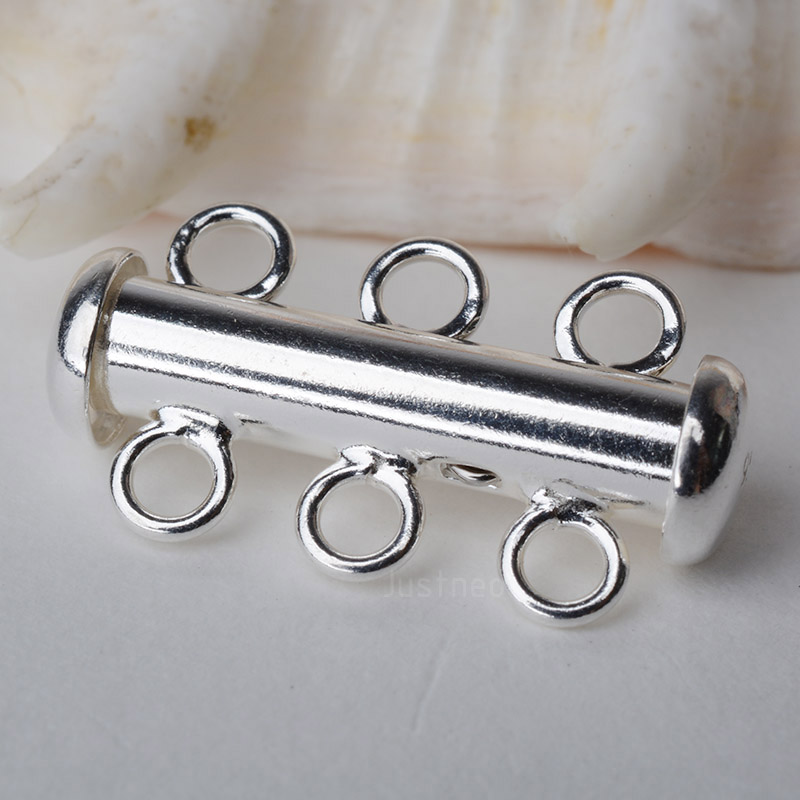
*** 3-strand clasp in sterling silver. You could also use a silver-colored base metal.
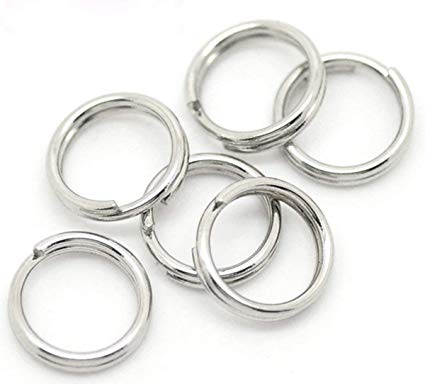
*** 8 sterling or silver-colored split rings in the appropriate size for your clasp.
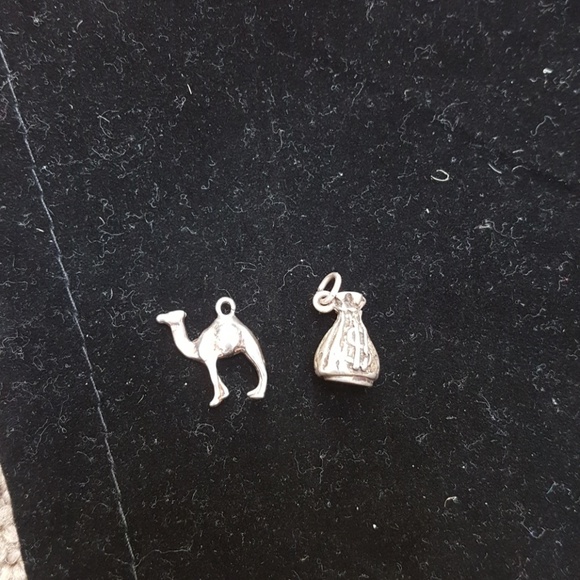
*** 2 sterling silver charms.
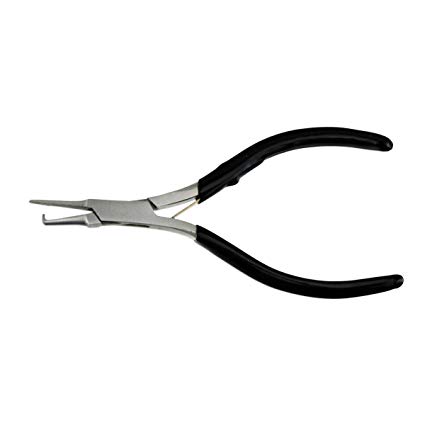
*** Split ring pliers.
2. Knotting the Sterling Silver Chain
Woman’s bracelets in the US are sized at 7.5 inches in length, including the clasp assembly. Depending on how tight you get your knots, knotting the chain will use up approximately 2 inch of chain per knot.
To make sure you have the needed length, I recommend you cut three, twelve inch lengths of sterling silver chain. Matching up the ends on one side, lay the three strands side-by-side and at the mid-point, knot all three strands together. Pull tight and use a pin or pick if need be to tighten the knot.
Do the same at the mid-point between the middle knot and end on both sides.
3. Attaching the Clasp
You’ll be placing the split rings on the oblong section of the Figaro chain. If need be use your wire cutters to remove any smaller links at the end of each strand of the sterling silver chain. Then using your split ring pliers, attach your chains to one side of the three-ring clasp.
Fire Mountain Gems and Beads has a great video on using split ring pliers. The concept is the same as putting a key on a key ring.
4. Adding Charms to the Figaro Chain
Trim the other side of the three sterling silver chains to the correct length for the bracelet, making sure to include the length of the clasp. My clasp/split ring assembly added one inch in length, so I trimmed my chain to approximately 6.5 inches, making sure that the oblong part of the chain was at the end of each strand. It’s better to trim so the bracelet is slightly longer than shorter if need be to properly place your oblong section of the Figaro chain.
5. Selecting Your Charms
Depending on what type of charms you are using, use a split ring or the built-in lobster claw to attach your two charms equally spaced between the three knots.
My charmed theme was phobias. I hate bugs and snakes, so I used a spider and snake charm. Plus there is plenty of room to add more charms in the future. I already had a 14K and diamond spider charm in my findings collection that I used for my phobia charm bracelet.
6. Making it Even Easier!
If knotting the Figaro chain is too much hoop-la for you, purchase a Figaro bracelet and add the charms to the oblong sections. If a lobster claw clasp is already attached to the charm, it’s easy to add and move them on your charm bracelet.

