How to Choose a Camera: SLR vs DSLR
When choosing either a SLR or DSLR camera, it is important to know which one is better for the type of photographs you plan to take. This article will highlight which is best for certain endeavors. We’ll also show you some of the top rated cameras in each category.
Which is Better SLR or DSLR?
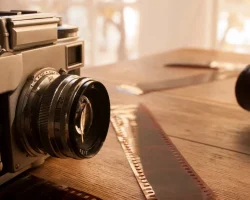
The SLR camera is called as such because it makes use of a mirror and prism, reflex pertaining to the reflection on the mirror (see some examples of an SLR camera here). The reflection allows the user to see the image about to be captured through the viewfinder before actually taking the photo. This is special and different compared to the viewfinder camera which shows a very different image in the frame as compared to what you can see through the viewfinder. When the user hits the shutter button, the mirror moves away and allows light to go past it and hit the film to capture the image.
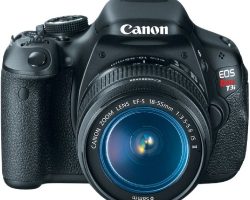
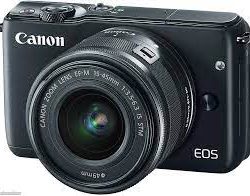
The main difference between a traditional SLR camera and a DSLR or digital single lens reflex camera lies right in its name, the DSLR is digital and does not make use of film (see some examples of a DSLR camera here). And because it has no film, instead of the mirror moving away for the light to hit the film, the light would, instead, go to the CCD or CMOS imaging sensor. Each camera has its pros and cons and they cater to certain kinds of photographers.
When to buy a SLR Camera
SLR Camera Review Getting a traditional SLR is advised for the more advanced photographer just because your number of shots is limited to how much film you have. The SLR user does not have the luxury of having a nearly unlimited number of frames that the DSLR user enjoys. Some people really do prefer having an SLR over a DSLR because of the quality and texture of film prints.
SLR Camera Reviews
There are very subtle differences between a film and digital print that are visible to the trained eye. One print isn’t better than the other, so to speak. It’s really more a preference. It should be noted that while getting an SLR is cheaper than a DSLR, in the long run, you could save more money with a DSLR because you won’t have to keep buying film. And the ISO, or level of exposure, depends on what kind of film you can buy. You can’t change it until you change film rolls.
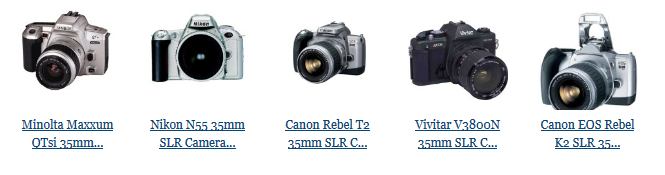
SLR Cameras Under $1000, $500 and $250 Dollars
When to buy a DSLR Camera
DSLR Camera Review DSLRs tend to be more expensive but it is highly advisable for beginners to try out an entry level DSLR for a multitude of reasons. First of all, since everything is digital, you don’t have to count how many frames you’ve used because everything goes into a memory card and they can hold and store a large number of photos. And you can just transfer your photos to your computer when you’ve filled up your card and you can start shooting again.
DSLR Camera Reviews
Another great advantage of the DSLR for beginners is the fact that you can see your photo right away. You don’t need to process it before you can check it out and judge it for yourself. There’s more flexibility with digital photographs too. For one, you can change the ISO on the camera itself.
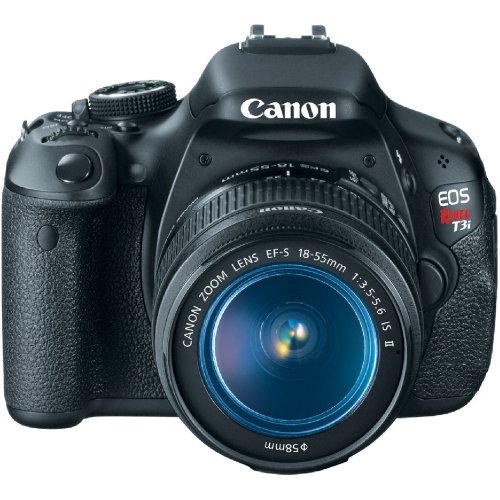
Canon EOS Rebel 18MP T3i DSLR Camera
**Top Choice**
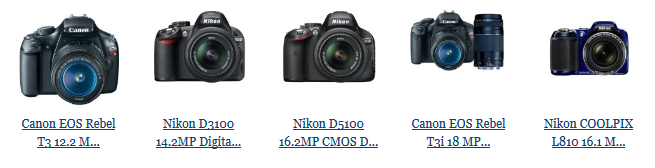
DSLR Cameras Under $1000, $500 and $250 Dollars
SLR vs DSLR Summary
It should be noted that film and film cameras are slowly being phased out. That shouldn’t discourage you from getting a film camera because there’s more to learn with SLRs. To capture a beautiful picture using a film camera, you need a certain level of understanding and knowledge of light, exposure, and film. Using an SLR will allow you to gain more experience, knowledge, and appreciation for photos. But it is more practical to get a DSLR. One isn’t really better than the other in this situation. Deciding which one to buy really depends on your personal preference.


 market, sticking with focusing on its very popular DSLR camera models. But…)
. The helmet cam,…)