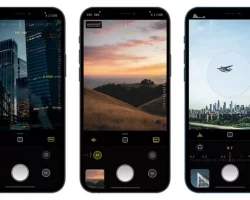
The Best IPhone Camera Apps For Editing Photos
If you’re looking for the best iPhone camera apps for editing photos, you’ve come to the right place. There are a ton of great options out there, but we’ve rounded up the best of the best for you.
When it comes to taking and editing photos on your iPhone, there are a ton of great options to choose from. But which one is the best?
We’ve rounded up the best iPhone camera apps for editing photos, so you can choose the perfect one for your needs.
Camera+
Camera+ is a great all-in-one camera app that offers a ton of features for editing photos. It includes a built-in stabilizer, so you can take sharp photos even if your hands are shaking, and you can also use the app to edit photos with a variety of filters and tools.
Snapseed
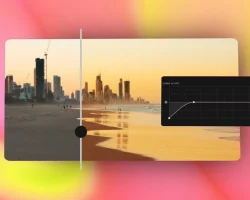
Snapseed is a powerful photo editor that’s available for free. It offers a variety of editing tools, including the ability to crop, rotate, and straighten photos, as well as a wide range of filters.
VSCO
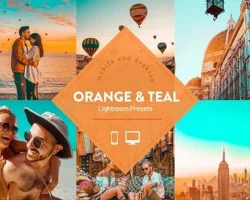
VSCO is a popular photo editing app that offers a wide range of filters and tools. It’s a great option for those who want to edit photos with a variety of different looks.
Afterlight
Afterlight is a great option for those who want to edit photos with a variety of filters and tools. It offers a wide range of filters, as well as the ability to crop, rotate, and straighten photos.
Enlight
Enlight is a powerful photo editor that offers a wide range of features. It includes the ability to crop, rotate, and straighten photos, as well as a variety of filters and tools.
No matter what your needs are, there’s an iPhone camera app that’s perfect for you. So, what are you waiting for? Get started today!
The best iPhone camera apps for sharing photos
There are plenty of iPhone camera apps that offer different features and editing tools. But which ones are the best for sharing photos with your friends and family? Here are our top picks!
Camera+
Camera+ is a great all-in-one camera app that offers plenty of features for taking and editing photos. It has a built-in photo editor with filters and effects, as well as a variety of shooting modes. You can also use the app to crop and rotate photos, and add text or watermarks.
Instagram is a social media app that’s all about sharing photos and videos. It’s simple to use and has a variety of filters and editing tools. You can also share photos and videos directly to other social media platforms, such as Facebook and Twitter.
Adobe Photoshop Express
Adobe Photoshop Express is a free app that offers basic photo editing features. It’s great for quickly cropping, rotating, or adding filters to photos. You can also use the app to remove red-eye, blemishes, or unwanted objects from photos.
Google Photos
Google Photos is a free app that offers unlimited storage for photos and videos. It’s a great option for backing up your photos and videos, and you can also use it to edit and share photos. The app also offers some cool features, such as the ability to create GIFs and collages.
Flickr
Flickr is a social media platform that’s all about sharing photos and videos. It’s a great place to discover new photographers and find inspiration. You can also use the app to edit and share your own photos and videos.


