In today’s video, we’ll look at 5 ways to add smoke to your Premiere Pro videos. First, we’ll show you how to use the Smoke tool to create a realistic smoke effect. Next, we’ll show you how to use the Background blur tool to give your videos a more realistic look. Finally, we’ll show you how to use the Grain and Lens Flare tools to add a touch of realism to your videos.
In today’s video, we’re going to take a look at 5 ways to create smoke effects in Premiere Pro. First, we’ll take a look at how to use the Smoke window to create a realistic smoke effect. Next, we’ll look at how to use the Diffuse Smoke window to create a diffuse smoke effect. Finally, we’ll take a look at how to use the Linen Smoke window to create a smoky effect.
Use smoke to add a realistic and realistic smoke effect to your movies.
Use smoke to add a realistic and realistic voiceover effect to your movies.
Use smoke to add a realistic and realistic atmosphere to your movies.
Use smoke to add a realistic and realistic fire effect to your movies.
Use smoke to add a realistic and realistic explosion effect to your movies.
Use the properties inspector to change the opacity of the smoke.
Use the clip properties inspector to change the clip position and dimensions.
Before you start shooting on film, it’s important to get to know your camera. Read the manual and familiarize yourself with the different features and settings. This will help you get the most out of your camera and avoid any potential problems.
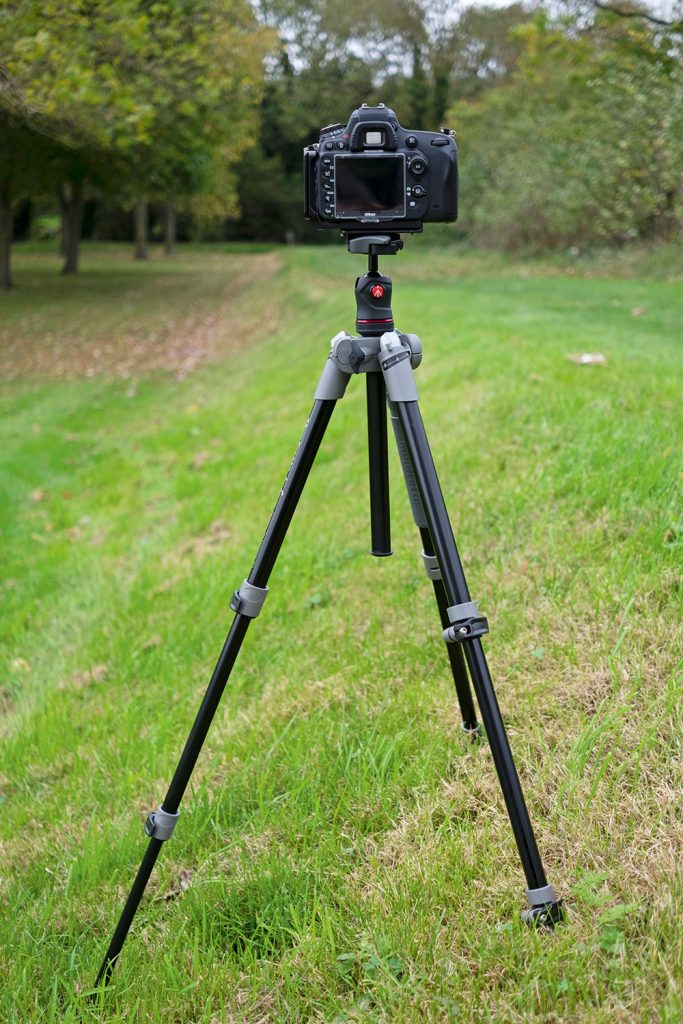
2. Use a tripod
Using a tripod will help you avoid camera shake and ensure that your photos are sharp and blur-free. It’s especially important to use a tripod when shooting in low light conditions or when using a long focal length lens.
3. Use a remote shutter release
A remote shutter release allows you to take photos without touching the camera, which can help prevent camera shake. If your camera doesn’t have a remote shutter release, you can use the self-timer setting.
4. Use a low ISO
Using a low ISO will help you avoid image noise and produce sharper, higher-quality photos. It’s especially important to use a low ISO when shooting in low light conditions.
5. Use a fast shutter speed
Using a fast shutter speed will help you freeze action and avoid blur. It’s especially important to use a fast shutter speed when shooting sports or other fast-moving subjects.
6. Use a narrow aperture
Using a narrow aperture (higher f-stop number) will help you achieve a greater depth of field, which means that more of your photo will be in focus. This is useful for landscape photos or photos with multiple subjects.
7. Use exposure compensation
If you’re shooting in manual mode, exposure compensation can be used to make your photos lighter or darker. This is useful if the scene you’re photographing is very bright or very dark.
8. Shoot in RAW
Shooting in RAW will give you the most flexibility when editing your photos. RAW files contain all of the data captured by the camera’s sensor, which gives you more information to work with when editing.
9. Use a filter
Using a filter can help you achieve a specific effect or look in your photos. Common filters include polarizing filters, which reduce glare and increase contrast, and ND filters, which reduce the amount of light entering the lens.
10. Experiment
Don’t be afraid to experiment with different settings and techniques. This is the best way to learn and find what works best for you.
Hopefully these tips will help you shoot better on film. If you have any questions, feel free to leave a comment below.
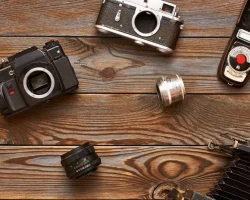
One from many hobbies that will give you not just satisfaction but also financially that is photography. I know, the cam is not cheap, if you want the best one, but it is worthy.
After dropping a few hundred dollars on a camcorder, you may not be eager to part with any additional cash on accessories. But there are some add-ons that are crucial to protecting and enhancing your camcorder and the videos it’s recording. Here’s a look at some must-have camcorder accessories.
A Case
Courtesy: webimg.secondhandapp.com
A high quality camcorder case is among the most important accessories
you can buy for your camcorder. A case will protect your camcorder from
the elements and make it easier to carry your camcorder on long
journeys. A quality case will have plenty of room for your other extras,
such as memory cards, tapes or disks and even personal items such as
cell phones, music players and keys.
Extra Memory
Courtesy : keyassets.timeincuk.net
If you own a DVD, Mini DV or Blu-ray disc camcorder, you’ll need to
have plenty of extra disks and tapes on hand for storing your recorded
videos. Blank DVDs and Mini DV camcorder tape are widely available in a
range of retail stores and online. Blank Blu-ray discs are not as
widespread, but can be readily found online.
If you use a flash memory camcorder that does not offer internal
memory, you’ll need to buy an SD/SDHC card or a Memory Stick Pro Duo
card (if you own a Sony camcorder) to store your photo. When shopping
for a card, try to buy the highest capacity you can afford. The higher
the capacity, the more video it will store.
Tripod
Courtesy : keyassets.timeincuk.net
There’s a reason why professional photographers and videographers use tripods (and single-legged monopods): they’re useful!
Of course, they’re also large and not always convenient to carry
around. Still, for certain occassions like long sporting events and
recitals, using a tripod can not only make things easier on you arms but
also improve the quality of your video.
If you’re filming a game from the top of the bleachers or a concert
from the back rows and using your camcorder’s optical zoom lens to get
closer to the action, it will be very sensitive to motion. As steady as
you think you can hold your camcorder, you can’t hold it steady enough
to prevent camera blur (even if you camcorder has optical image
stabilization). A tripod will ensure that video is steady.
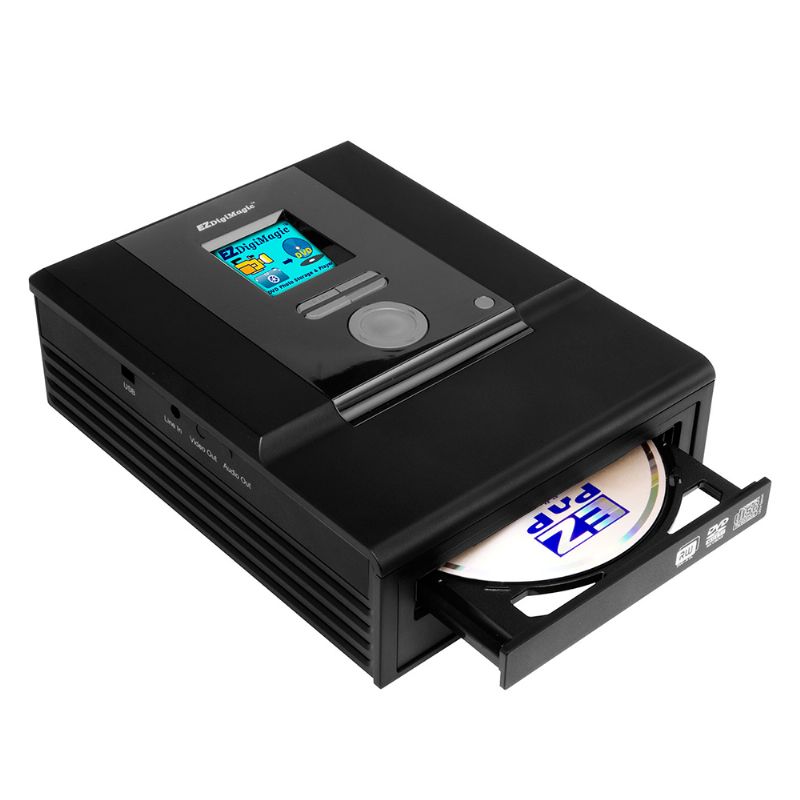
DVD Burner
Courtesy : http://www.ezpnp.com
No matter what storage format your camcorder uses, burning a DVD of
your video is still one the best ways to store it for the longer term.
Many camcorder manufacturers sell accessory, standalone DVD burners that
connect directly to the camcorder via USB cable or Firewire. A DVD
movie of your footage can be burned directly from the camcorder without
using a PC.
Many camcorders will feature a dedicated button for burning a DVD
when connected to a burner from the same manufacturer. For this reason,
it usually makes sense to purchase a burner from the same manufacturer
as your camcorder.
Of course, if your computer has a DVD burner built-in, there’s no
need to run out and purchase one. So be sure you don’t have an internal
DVD burner in your desktop or laptop before buying an external burner.

