
Using Polymer Clay to Create a Fairy Figure
You must be familiar with Peter Pan’s story. Maybe some of you have watched it with your child or told bedtime stories about the fairy story. Now you can bring your story to life again if you can make your own doll from a fairy, why not?
The Basic Needed
Creating a Fairy Figure with Wendy Froud certainly gives the viewer all the basics needed to work in this arts and crafts medium while providing instructions on what I consider to be a more advanced polymer clay topics. Like everything else in life, it’s a matter of practice and having a routine. Unexperienced in working with polymer clay, I paused the video many times to follow along. Anyone with experience working with polymer clay would be able to follow along in a more spontaneous, fluid manner.
Pros
Clear, easy-to-follow instructions
Written for the beginner, but also good for polymer clay artists not experienced in model-making
Excellent visual effects
Cons
Digital download process was time-consuming
Description

Making an Armature – complete instruction on forming the skeletal framework for the figure using wire.
Sculpting the Figure – learn how to make all the separate body parts such as the head, torso and hands.
Fabricating the Body – after the pieces are finished and baked, you learn how to put the pieces together to form the figure.
Costuming the Figure – discusses selection of fabrics and coordinating hair.
Applying Hair – learn how to attach wool and other materials to the figure for a realistic head of hair.
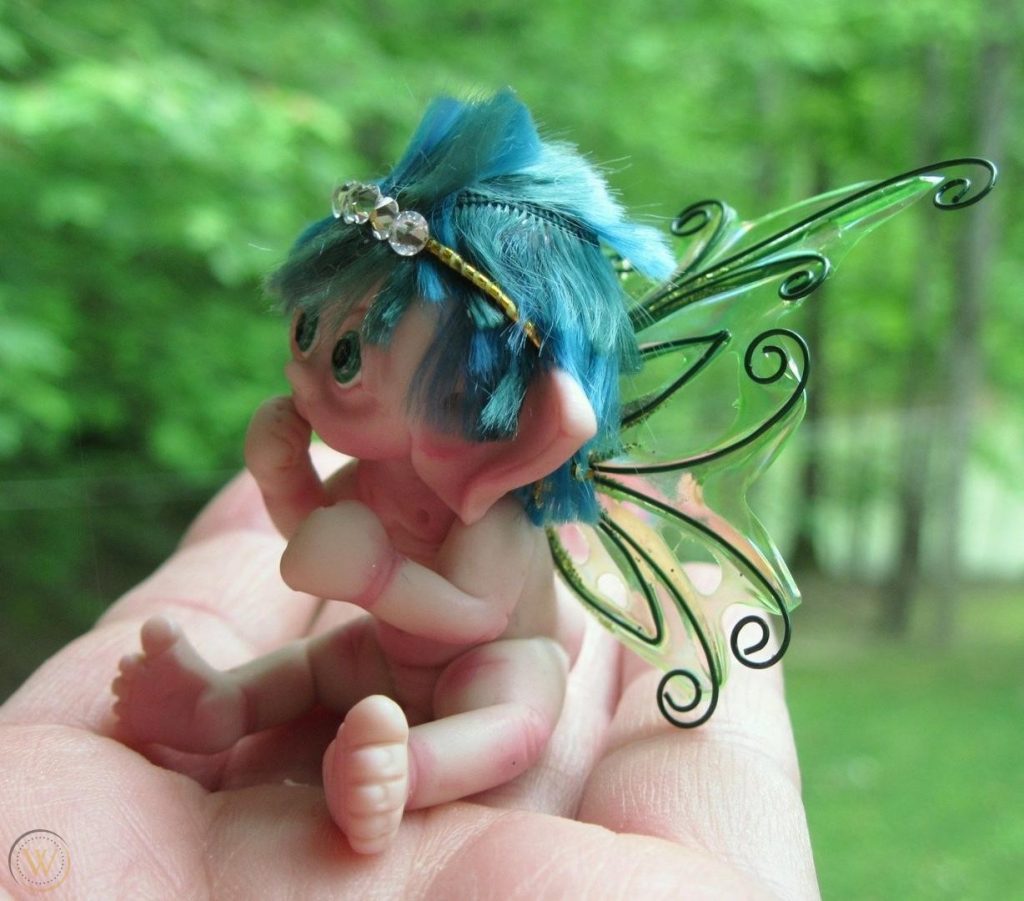
Making Wings – crucial for a faery figure, not a necessity if only interested in making doll-like figures with polymer clay.
Finishing the Figure – completing all the minute details to wrap up the project.
Guide Review – Using Polymer Clay to Create a Fairy Figure
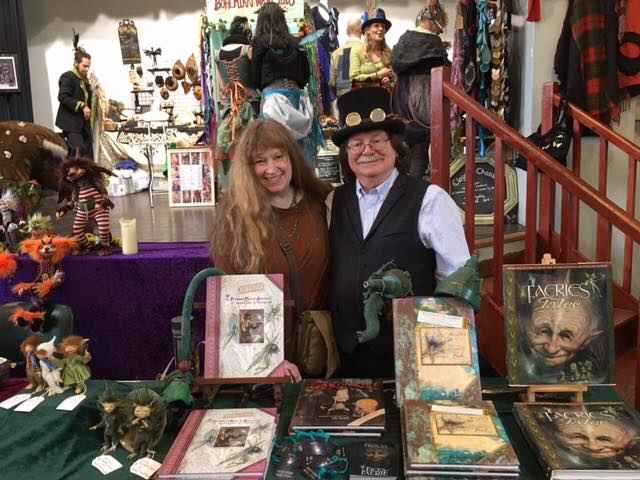
Creating a Fairy Figure with Wendy Froud
I’m somewhat familiar with polymer clay as I interviewed a few jewelry artists who make their own beads from polymer clay while writing one of my books. The bit of knowledge that I retained the most was the fact that polymer clay is hardened by baking in the oven, instead of using a kiln, which seemed to me to be pretty handy as it eliminated the need for yet another piece of craft-making gear (although all serious artists use a separate oven since there are safety concerns with keeping food and clay separate).
However, I’ve never used polymer clay myself so I figured a good litmus test for a video is if a crafter who is handy in other crafts can follow along with instructions for another somewhat related type of craft. In this case, I’ve worked in paper mache in the past, which uses armature and paper constructing technique.
While my faery was far from perfection, this video really delivers on the instructional aspect. An artist or crafter with the right tools and patience will get all the knowledge they need to work in this medium from this video – regardless if they are interested in fantasy figures.
You can read artist Wendy Froud’s bio on the Gnomo Workshop website. Pretty impressive, she worked on both The Muppet Show and The Empire Strikes Back. The two-DVD set is 240 minutes in total and is also available via digital download.
The Gnomon School website show an approximately two minute sample clip showing the artist fabricating the model’s eyes. This clip is representative of the quality and type of instruction running through the entire 240 minutes.
When need be the filming of the dvd is close up on the artist’s hands. Ms. Froud moves very slowly, explaining each step as she goes giving alternatives on how to perform some of the tasks. For example, while constructing the hands of the faery she advises that she prefers to not wire the hands since she likes to really manipulate the digits after she attaches them to the main base of the palm of the hand.
Polymer clay is very easy to manipulate and forgiving. The artist many times removed and added clay while constructing the model. Using the special polymer clay tools, it’s easy to add clay to the basic shapes to add features, fingers and the body.
At the time of this review, the polymer clay lesson cost $49 (plus shipping if not going the digital download route – downloading will save you the shipping cost of $10 to $15 for most items.) Considering the length of the dvd and the soup to nuts presentation of the topic, a very good value.