3D printing technology has come a long way in recent years, and 3D pens are now available to anyone who wants to create 3D art. 3D pens are easy to use and allow you to create any shape or design you can imagine. In this article, we will show you how to use a 3D pen to create amazing art.
First, you will need to choose the right 3D pen for you. There are many different 3D pens on the market, so it is important to do your research and find the pen that is right for you. Once you have chosen your pen, you will need to choose the right filament. Filament is the material that is used to create the 3D art. There are many different types of filament, so you will need to experiment to find the type that works best for you.
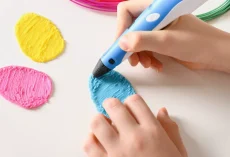
Once you have your pen and filament, you are ready to start creating. 3D pens work by melting the filament and then extruding it through the tip of the pen. You can use the pen to draw any shape or design you can imagine. To create a 3D effect, you will need to build up layers of filament. Start by drawing a simple shape or design, and then build up the layers until you have the desired effect.
3D pens are a great way to create unique and amazing art. With a little practice, you will be able to create any design you can imagine.
3D pens are becoming increasingly popular among artists and crafters, and it’s easy to see why. These versatile tools allow you to create three-dimensional art and objects with ease. In this guide, we’ll show you how to use a 3D pen to create amazing art.
1. Choose your material.
3D pens can be used with a variety of materials, but the most popular choice is plastic filament. Filament comes in a variety of colors, so you can choose the perfect shade for your project.
2. Preheat the pen.
Most 3D pens require you to preheat the tip before use. This helps the filament flow smoothly and prevents clogs.
3. Load the filament.
Once the pen is preheated, it’s time to load the filament. Most pens have a lever or button that you can use to feed the filament into the pen.
4. Start drawing.
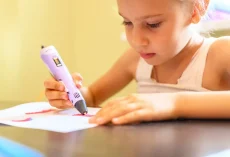
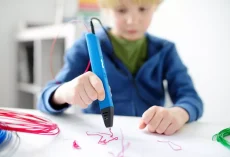
Now you’re ready to start drawing! Use the tip of the pen to draw your design on a flat surface. As you draw, the plastic filament will be extruded from the pen.
5. Add details.
Once you’ve created the basic shape of your design, you can start adding details. Use the pen to add texture, color, or anything else you can think of.
6. Let it cool.
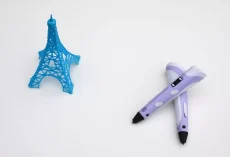
Once you’re happy with your design, let it cool completely. This will help the plastic harden and prevent your design from warping.
And that’s all there is to it! With a little practice, you’ll be creating amazing 3D art in no time.