How To Customize A Free Travel Intro Template
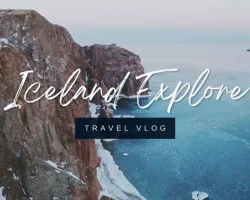
Are you looking for a way to start your travel journey but don’t know where to start? Well, we’ve got just the thing! Our free travel intro template will help you customize it to your needs, and we’ll also include some helpful tips and advice to help you start planning your trip. So what are you waiting for? Start customizing your free travel intro template today!
If you’re looking for a free travel intro template that will help you get started on your travel journey, then you’ve come to the right place!
This post is about how to customize a free travel intro template, so you can create a template that is specifically designed for you.
First, let’s take a look at the basic steps involved in creating a custom travel intro template:
Log in to your account and create a new account. You’ll need to provide your name, email, and other required information.
Next, you’ll need to select a template. There are a variety of templates available, so it’s important to choose the one that is right for you.
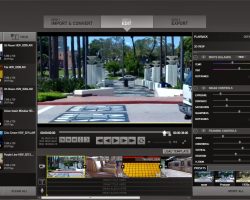
Once you’ve chosen a template, you’ll need to make some changes. You can change the colors, fonts, and other details to customize your intro.
Finally, you’ll need to upload your intro to the website. Once you’ve uploaded your intro, you’ll need to sign in to your account and select the “Upload” button.
If you’re looking for a free travel intro template that will help you get started on your travel journey, then you’ve come to the right place!
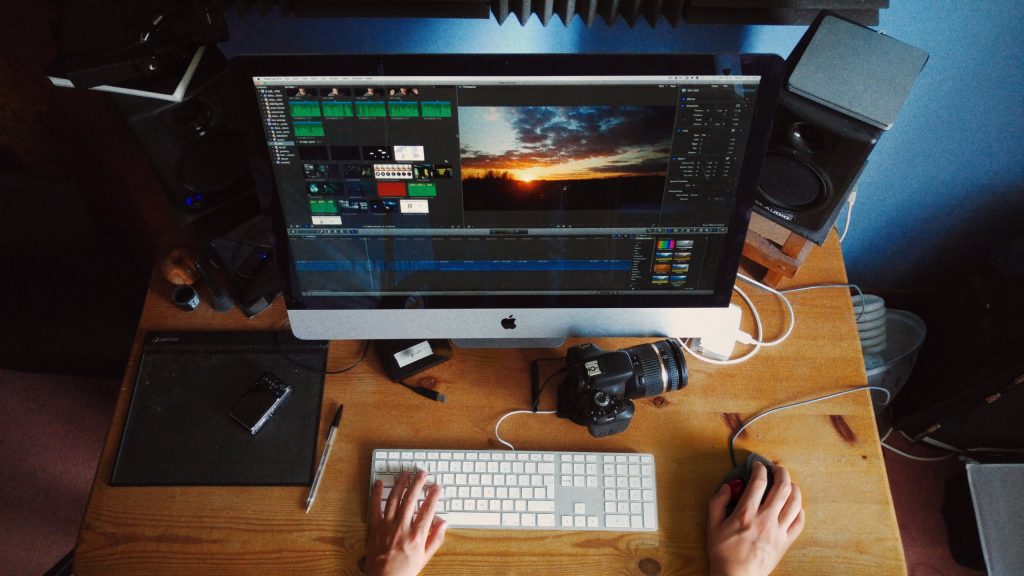
There are many different ways to customize a free travel intro template. You can change the font, text, and graphics. You can also add your own photos and videos. You can also change the layout to make it more personal or professional. You can also choose to have a specific logo or design included. You can also choose to have a printable version of the template.
There are a lot of different ways to customize a free travel intro template. You could change the font, color, and text to match your own style. You could also add your own photos and videos. But the best way to customize your own free travel intro template is to find a template that is specific to you and your needs.
To find a specific free travel intro template, you can use the search bar on the top of the blog page. Or you can use the search box at the bottom of the blog page. The search bar can be a helpful tool because it can search for different types of free travel intro templates.
Once you have found a specific free travel intro template that is perfect for you, you can start editing it. Editing a free travel intro template is simple and fun. You can change the text, font, and color. You can also add your own photos and videos. Edit your free travel intro template and enjoy your customized travel intro template!


 for your home, here’s a quick guide…)
 That’s why every camcorder is packaged with some…)